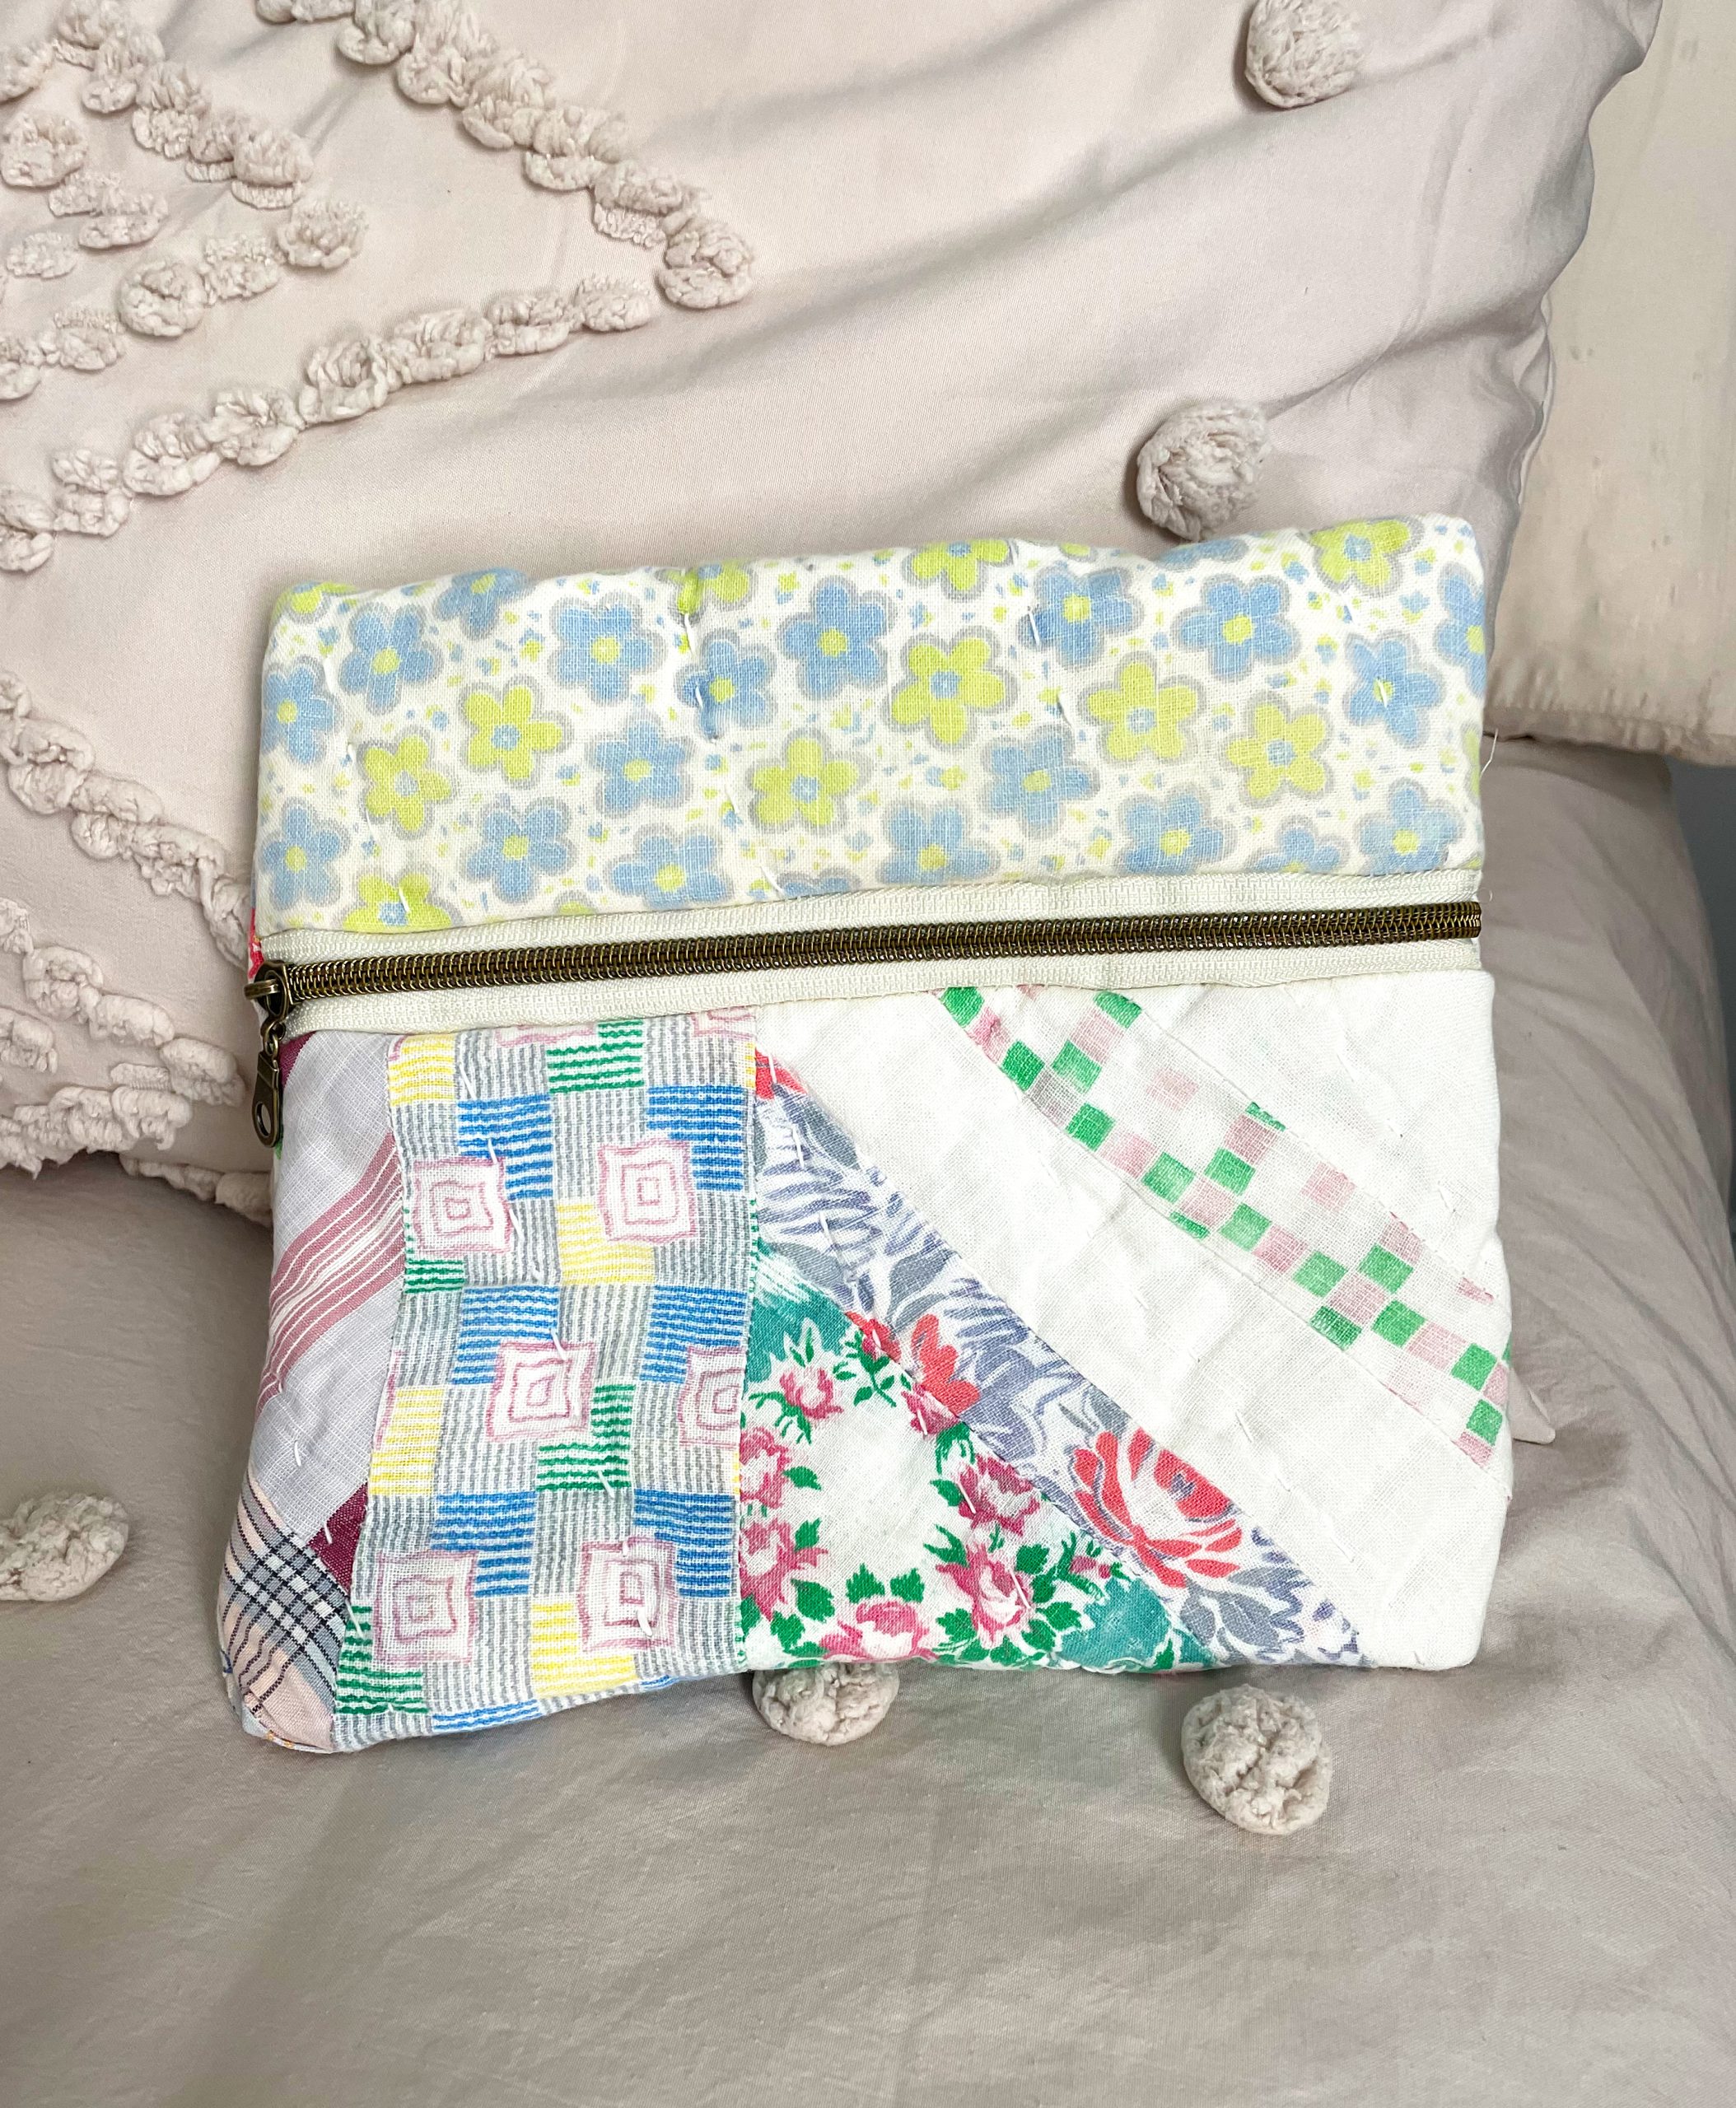
15 minute zipper pouch tutorial
This post contains affiliate links. I may earn a small commission if you click and purchase at no extra cost to you. See the full disclaimer here.
We are still waiting for our house to sell, and to say it’s a little nerve-racking would be an understatement! To read more about our plan, click here! In the meantime, I needed a little creative therapy. Since I had already cleaned up and packed away my crafting desk, I pulled my sewing machine out and set it up on the kitchen table. I was in the mood to make something!
Apparently, grandma hobbies are on trend right now! Who knew? I’ve been enjoying these kinds of hobbies for years—embroidery, weaving, macramé, quilting, gardening, baking from scratch, and more. Turns out, I’ve been trendy all along! Ha!
About a year ago, a new friend gifted me an older sewing machine. She knew I wanted to do more sewing but also knew I didn’t want to invest in a brand-new machine before figuring out whether I would stick with it. I have a bit of a habit of jumping from one creative medium to another. I have truly enjoyed learning and creating with it, and despite its age, the machine works amazingly well. I’m so grateful for her thoughtfulness and generosity!
I also have some beautiful old quilt scraps from a quilt my grandmother hand-stitched. I’m currently working on turning the bulk of that quilt into a jacket. Maybe I’ll share that project with you another time! For now, I decided to use some of the smaller pieces to make a few cute zipper pouches in different sizes.
There’s something special about creating something new from something old, especially when it carries a little family history with it. And right now, while we wait for our next chapter to begin, having something creative to pour myself into feels especially good.
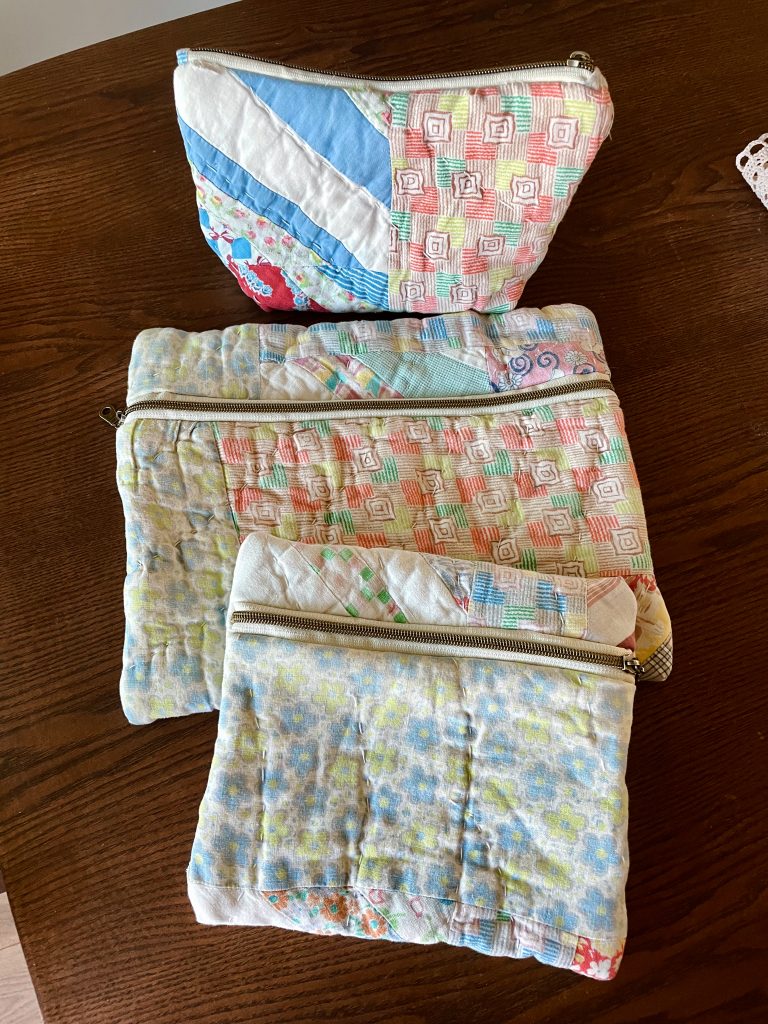
This tutorial is specifically for the bottom bag in the photo above!
(If you are interested, at the end of the post is a list of items that I used, or similar with great reviews!)
Materials Needed:
Sewing machine/thread
Quilt scraps
Zipper
Clips
Scissors
Tape
Step One:
Use one scrap quilt piece or regular fabric with or without batting and a lining and cut to whatever size you desire. Tip: Fold it up in the middle to see about how big the finished bag will be.
Mine was approximately 8 x 14 in?
Make sure your zipper length is about an inch wider on each side of the fabric. Check out several styles of zippers you can use at the end of the post.
Place the quilt scrap right side up and then lay the zipper across the top of the fabric edge to edge right side down as shown below.
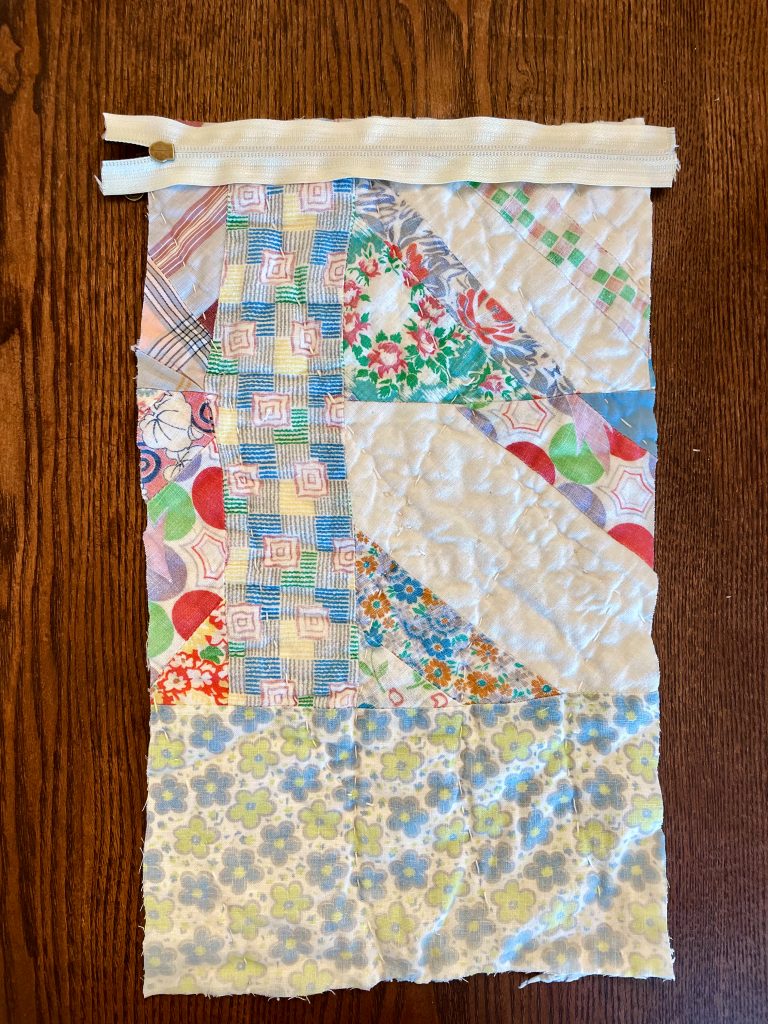
Place clips or pins to hold in place.
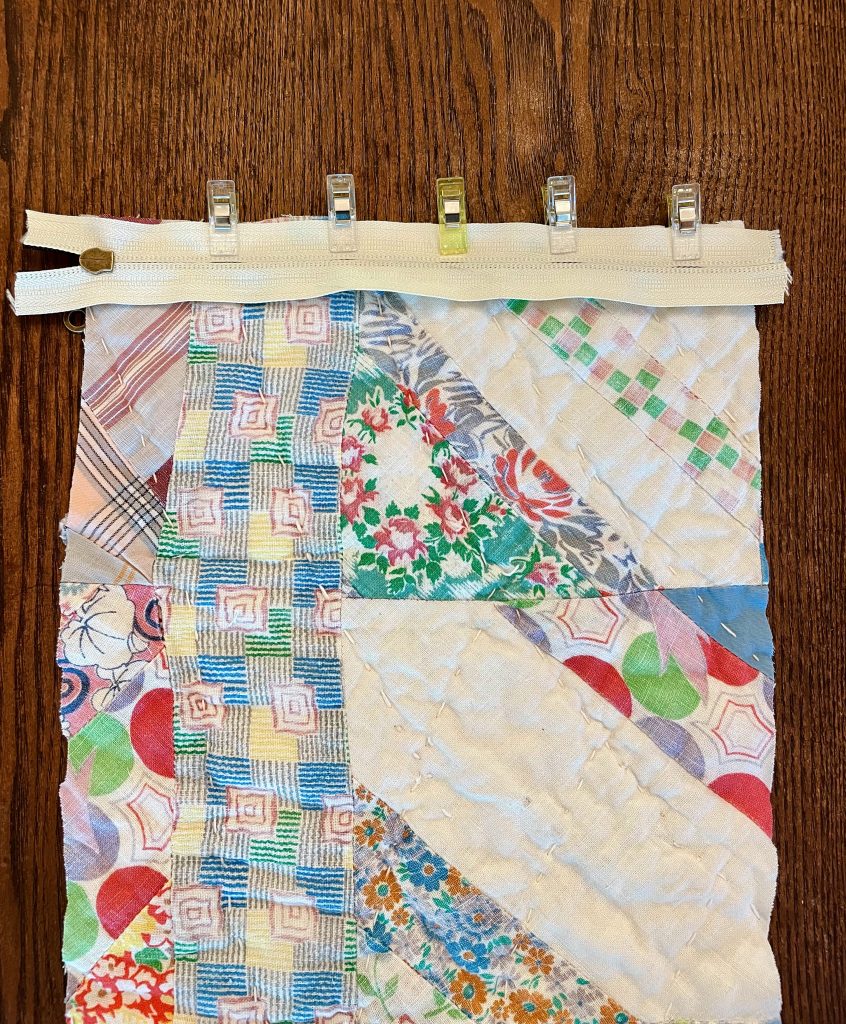
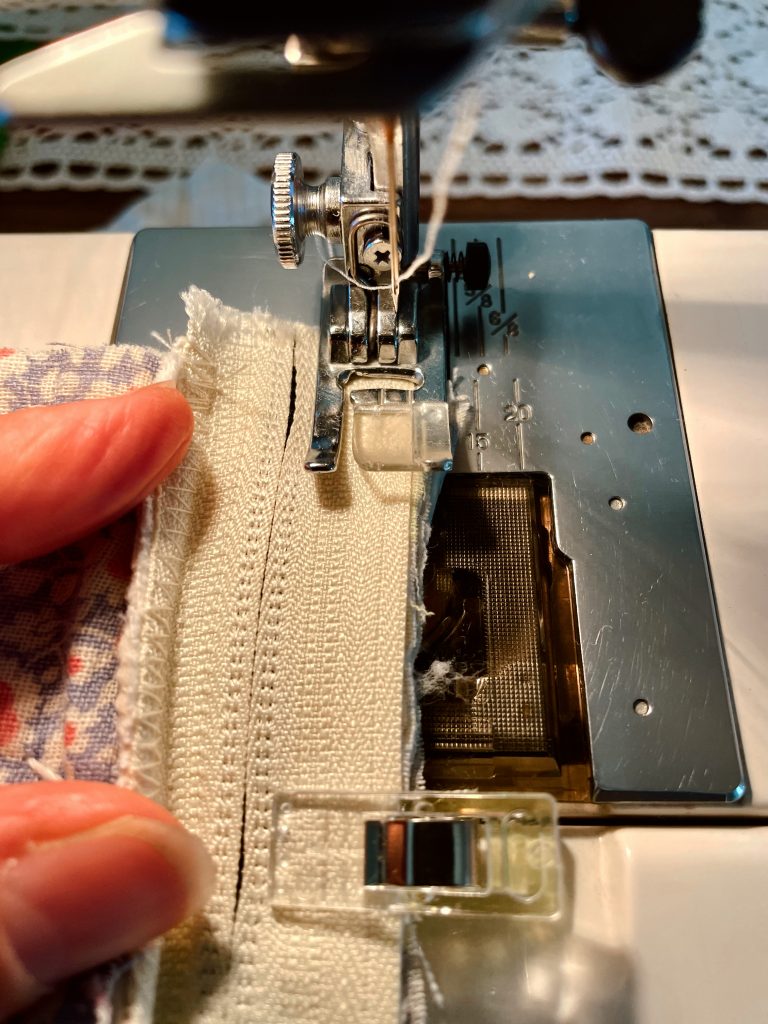
Set your sewing machine to use the overlock stitch as shown here.
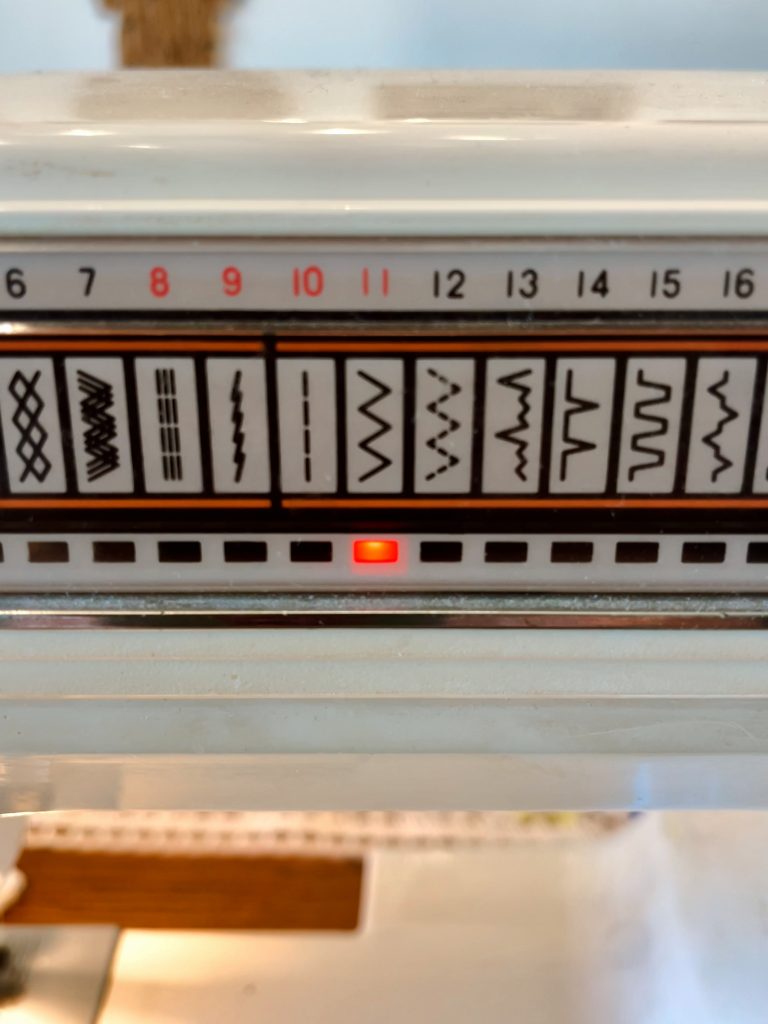
Sew along the edge of the fabric and zipper like below. Start and end with a backstitch to knot.
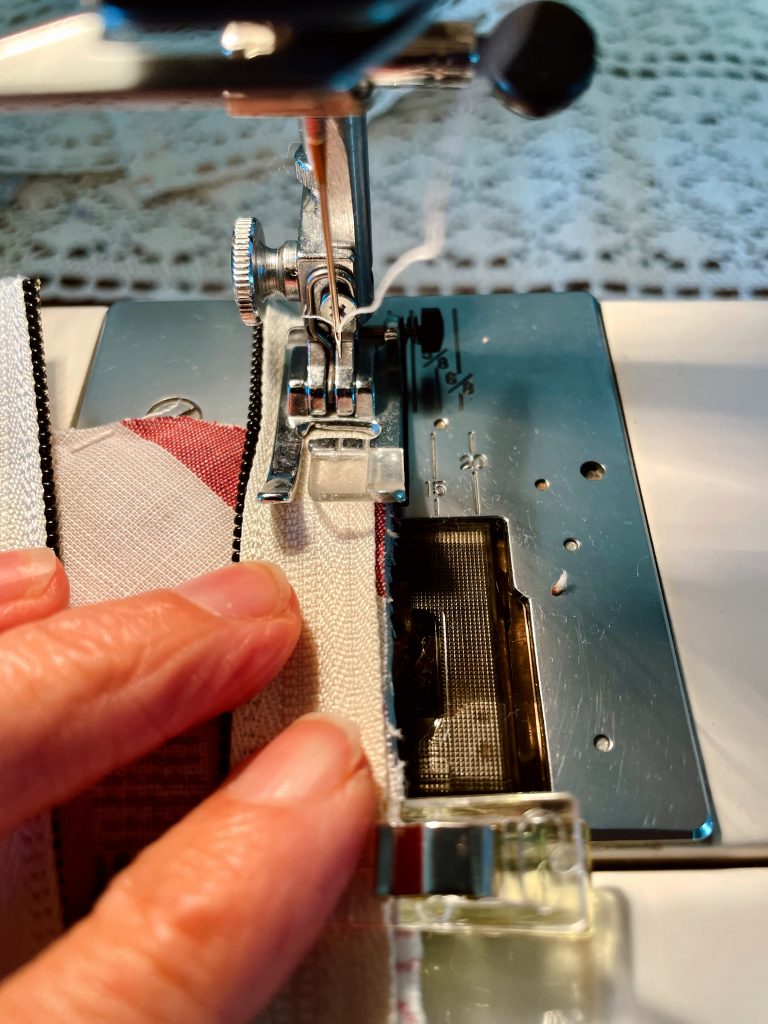
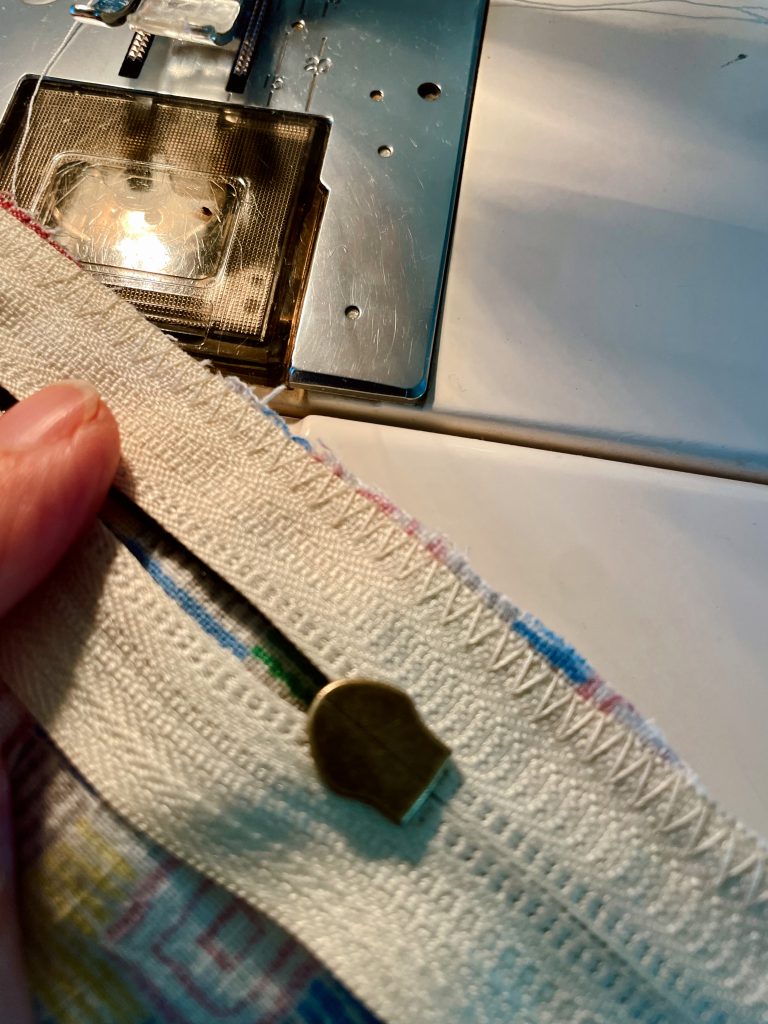
Trim the excess thread.
Step Two:
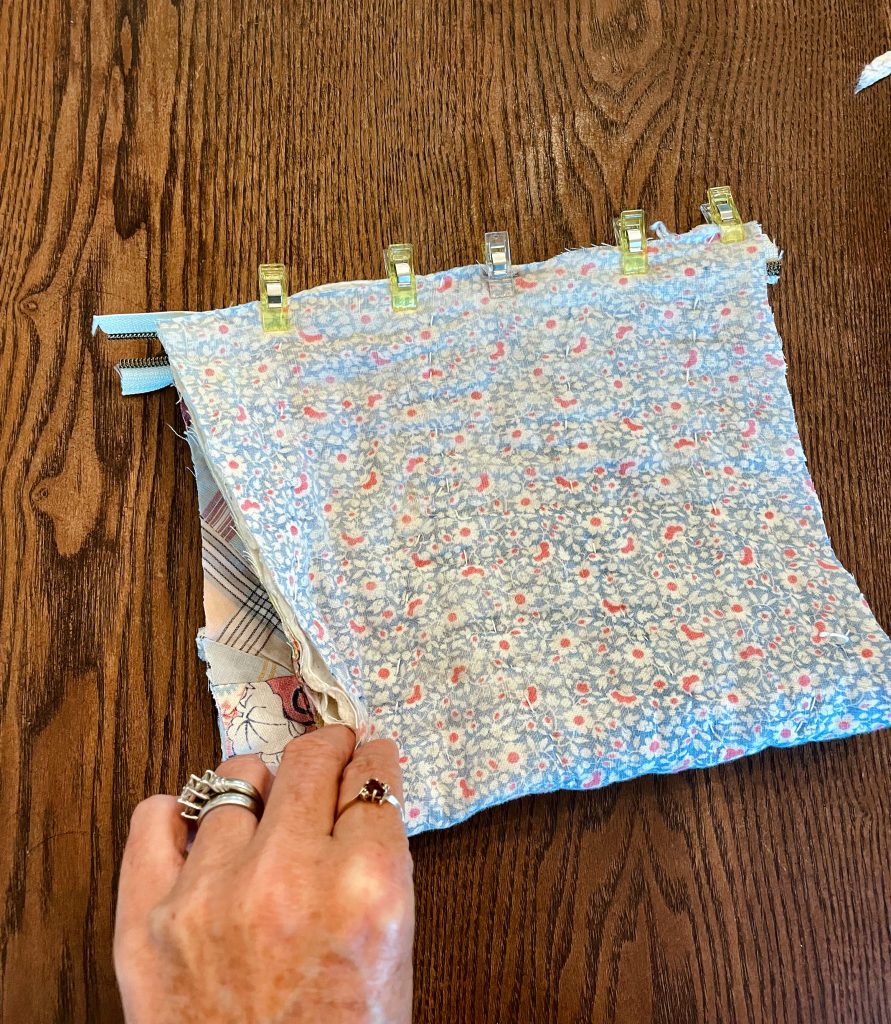
Place the bag right side up and flatten out the zipper to make sure it looks ok. Fold up the bottom and line the fabric again edge to edge. (You will be looking at the inside of the bag.) Use clips or pins to hold in place as before. Sew across the top with overlock stitch again. Start and end with a back stitch.
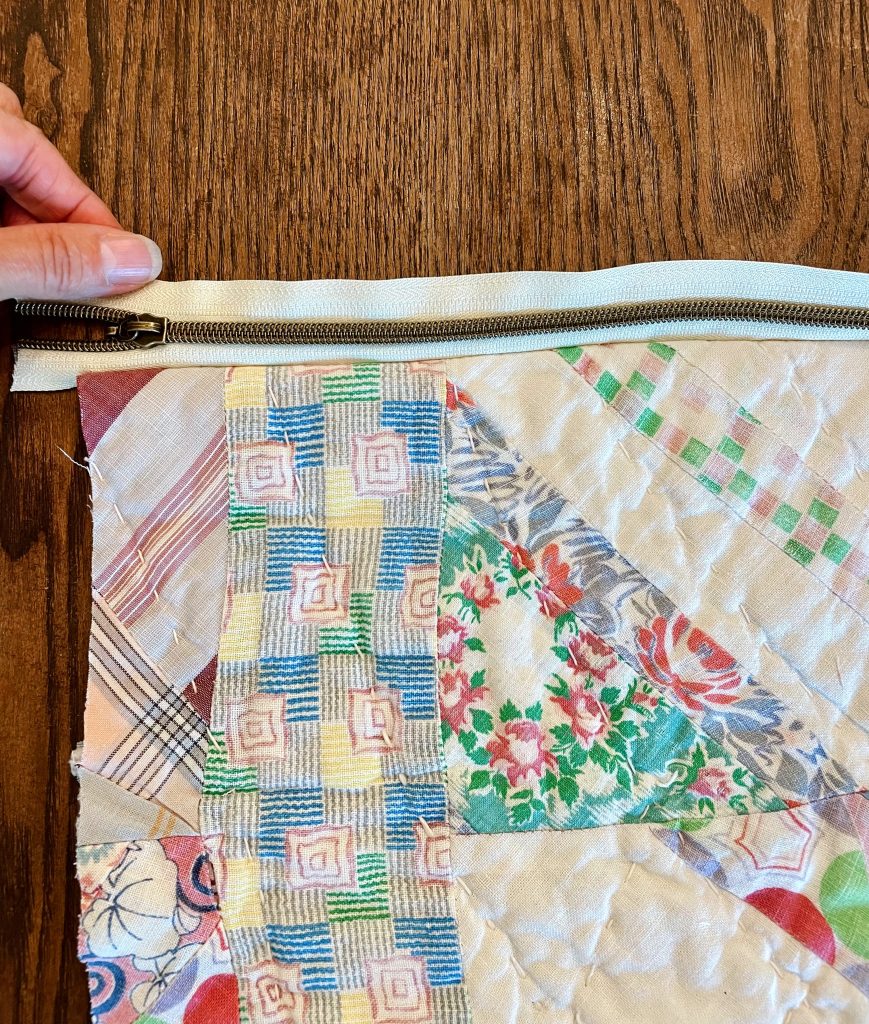
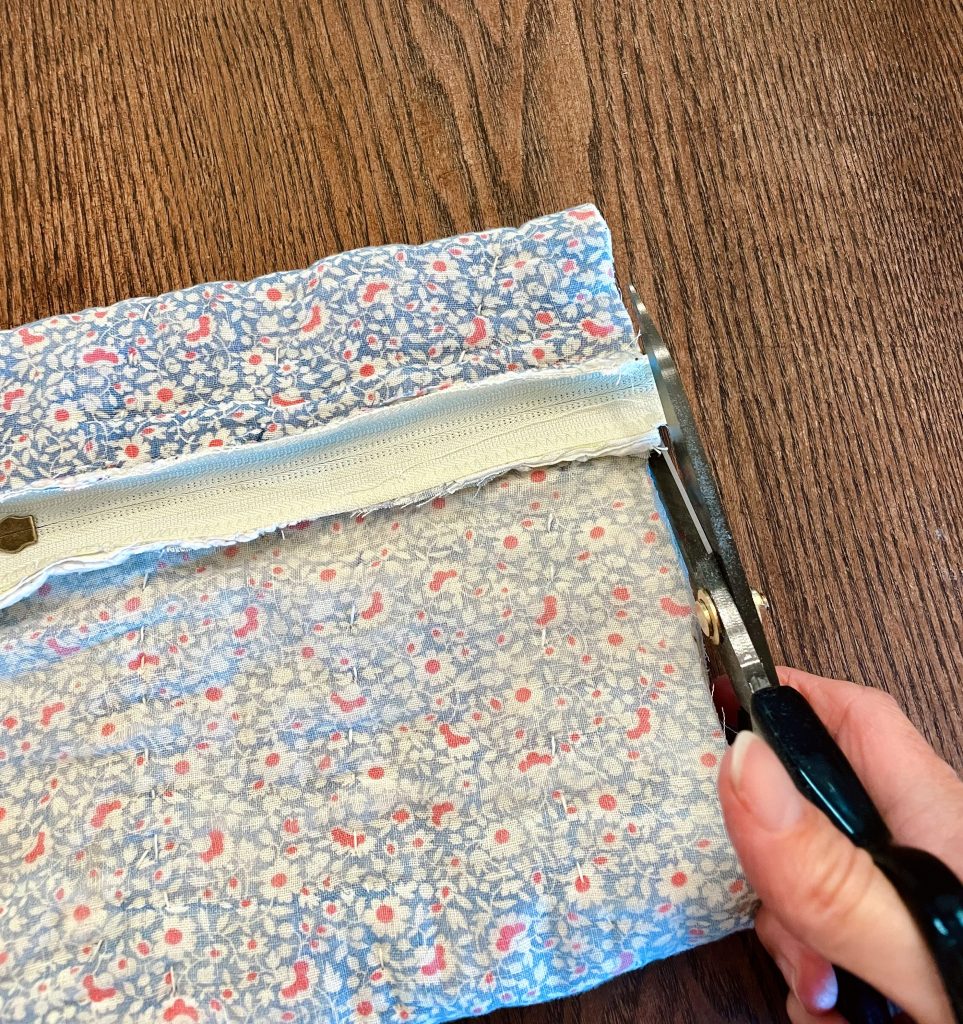
Cut the end of the zipper to line up with the edges of the bag. (Yes, you can cut right through the plastic or metal zipper.)
Step Three:
Adjust the zipper where you want it on the bag as shown below. (This tutorial works best if the zipper is not along the top.) Remember the bag is currently inside out.
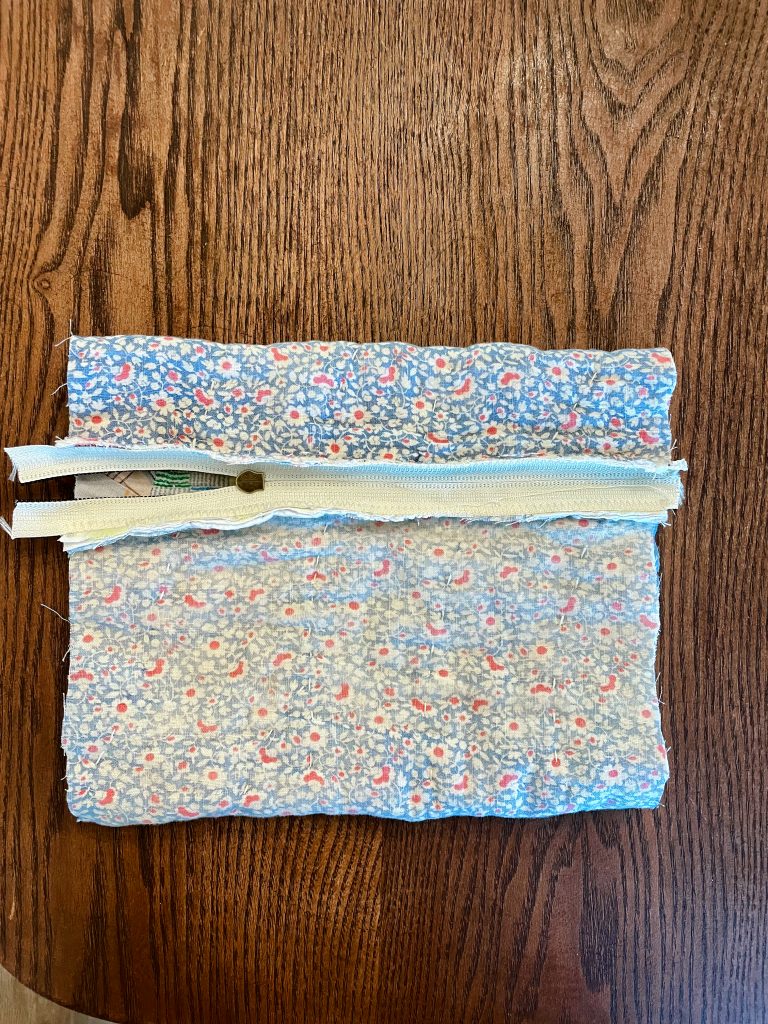
Lay the zipper seams flat and sew along the right edge with same overlock stitch. Backstitch to begin and end.
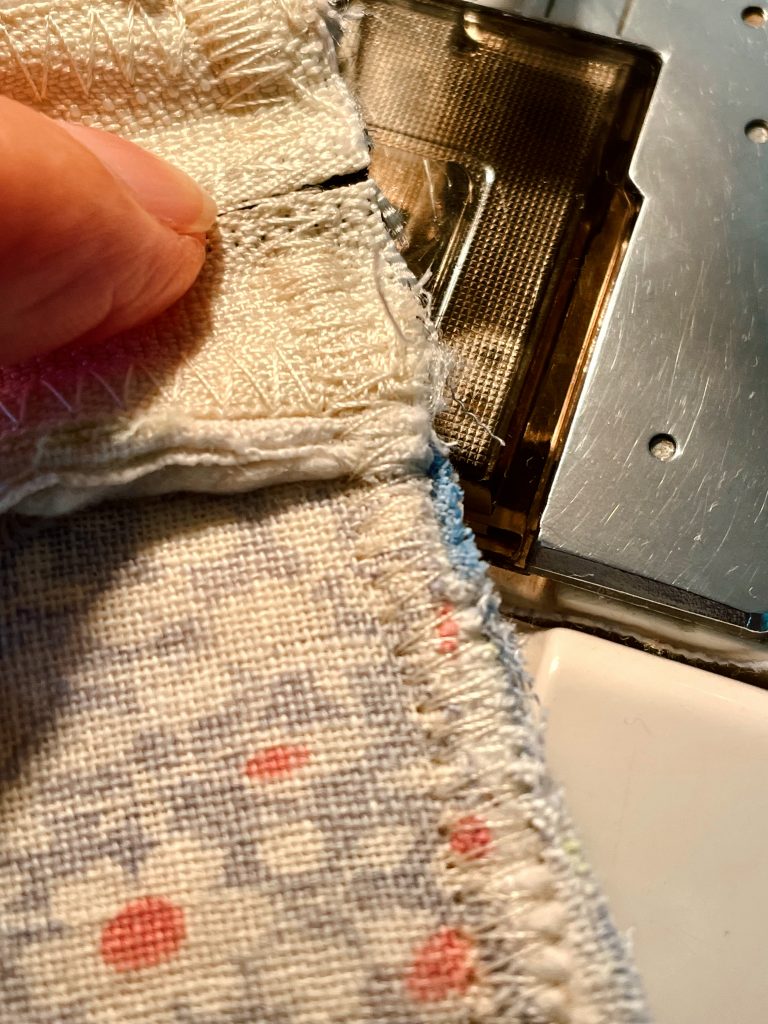
Step Four:
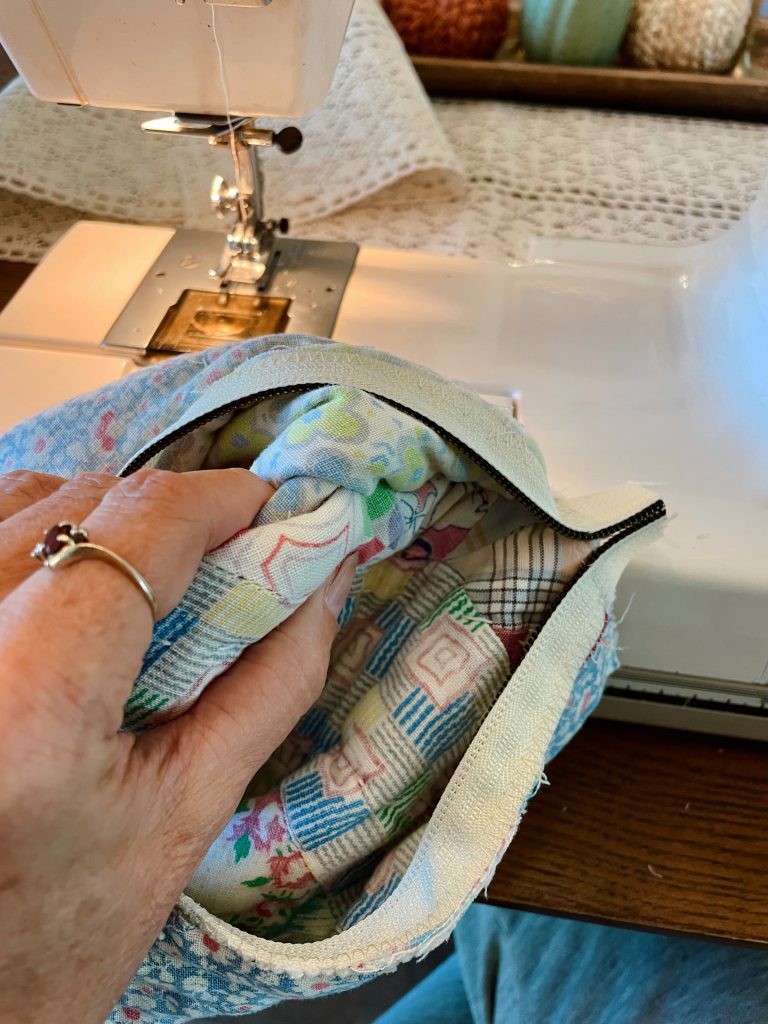
Pull the zipper open quite a bit as shown below to allow room to turn the bag right side out when complete.
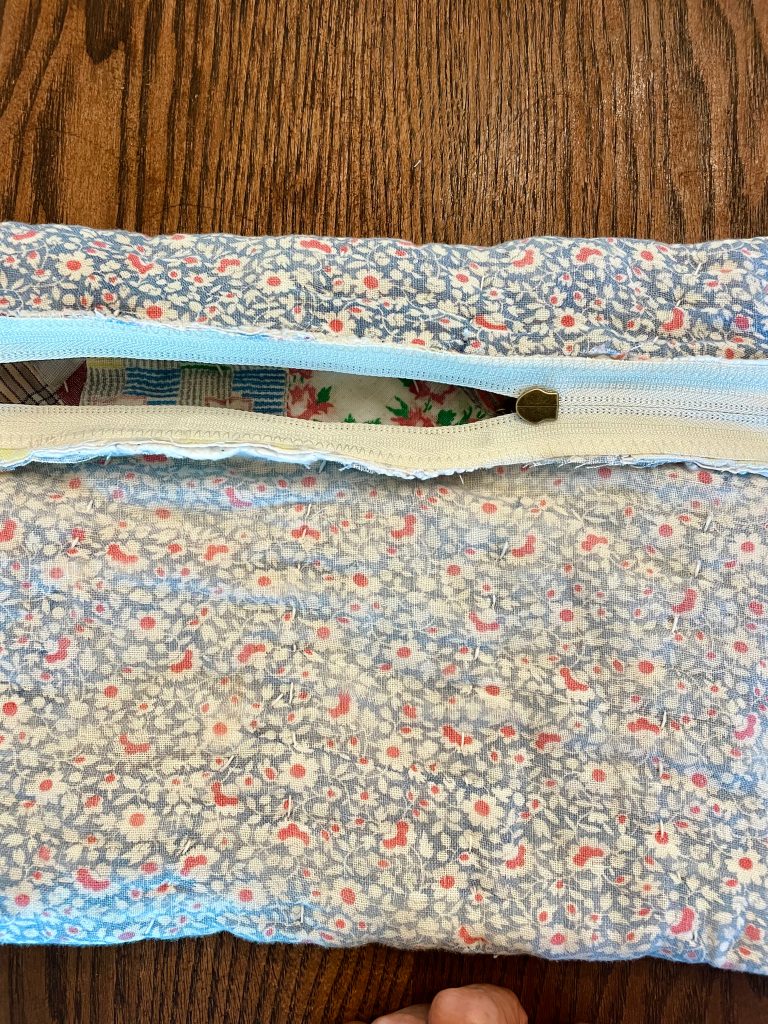
On the other side (left), line the zipper up and add painters tape or other tape to hold together while you sew.
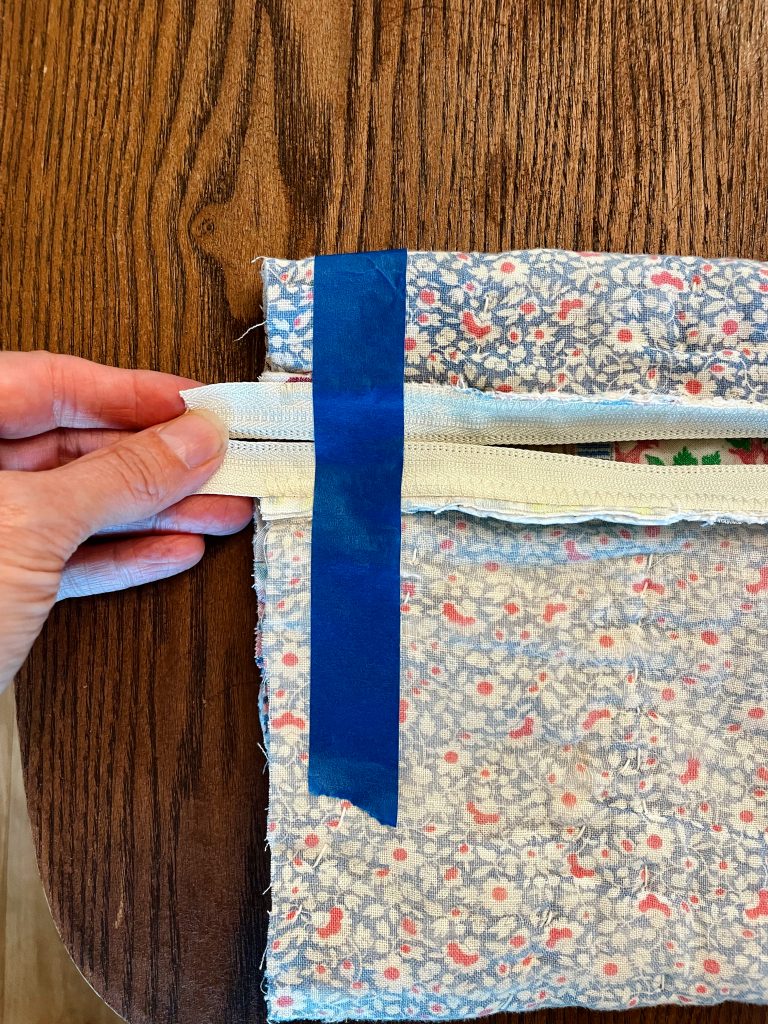
Sew along the edge beginning and ending with backstitches.
Cut the zipper to the edge and remove the painters tape.
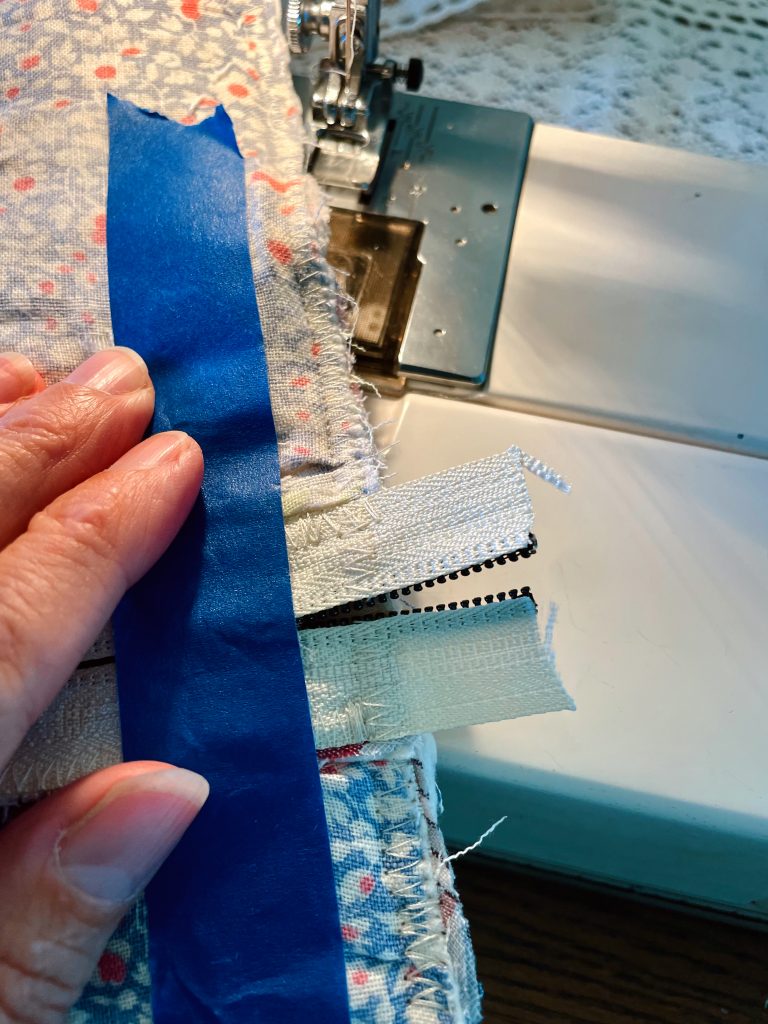
Turn the bag right side out and voila!
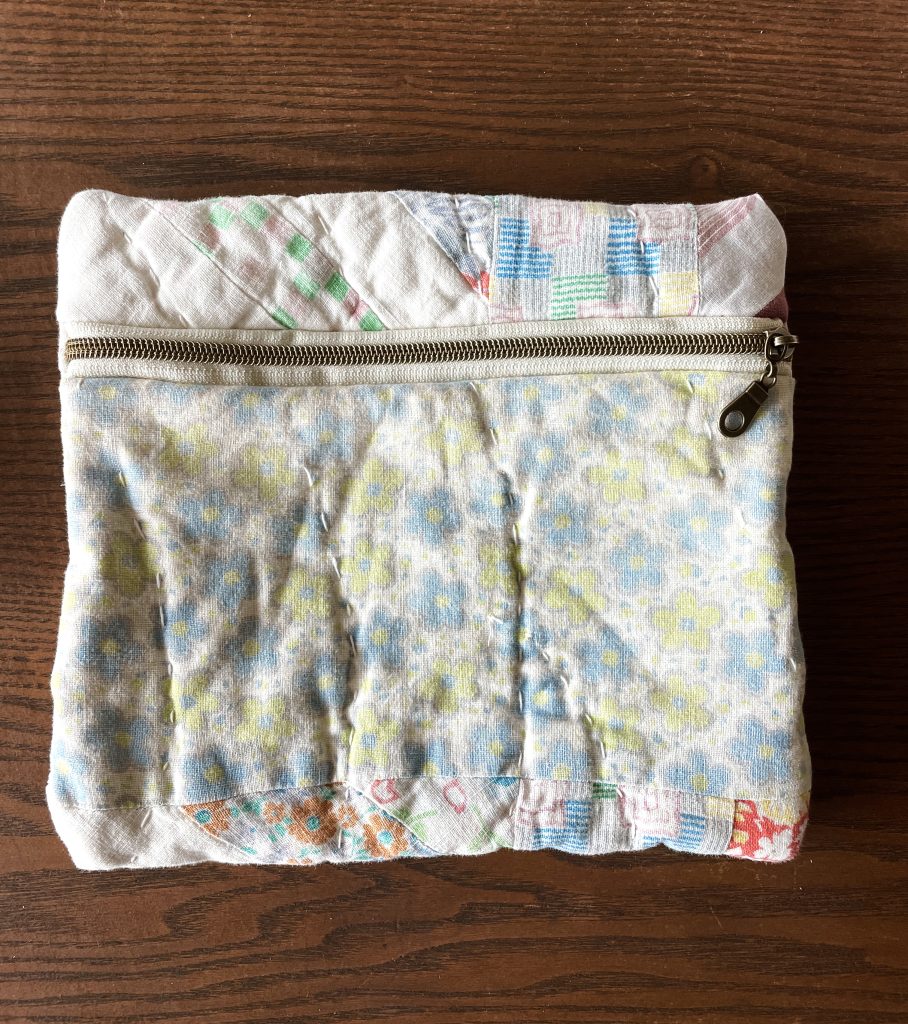
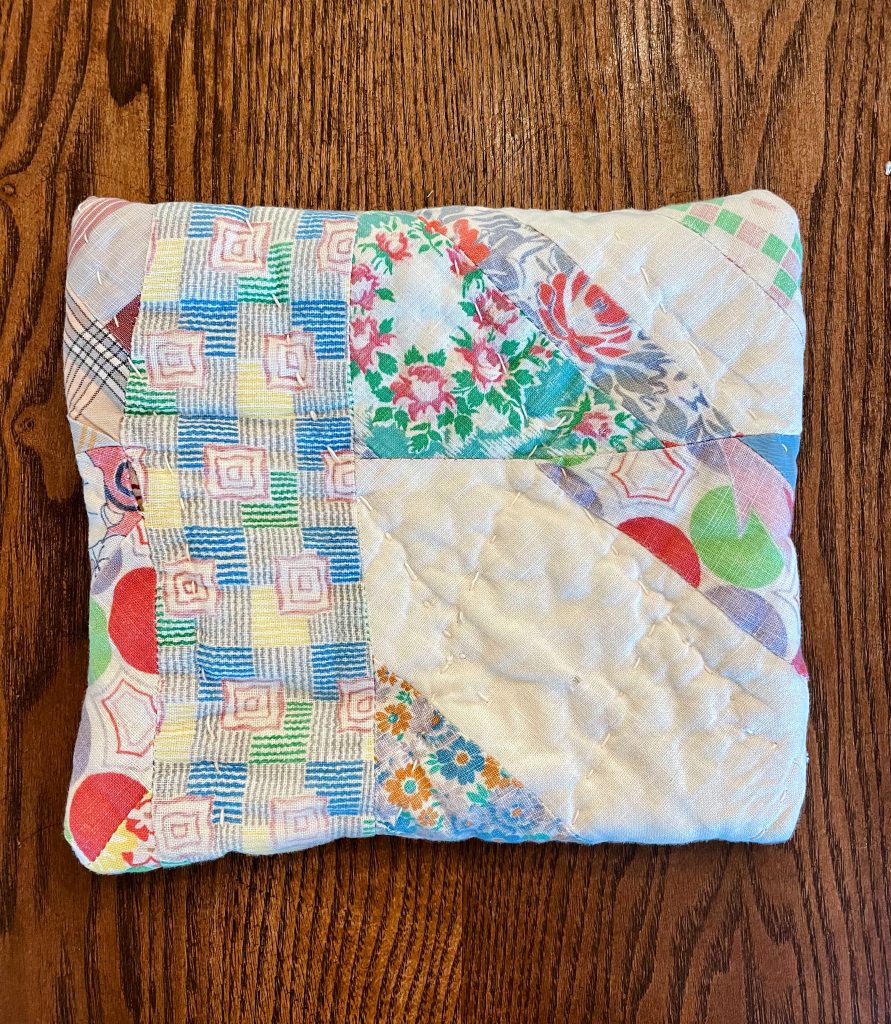
**I will say… make sure you pay attention as to which side you want the zipper on. I meant to have the zipper on the other more colorful side with the zipper going the other way, but didn’t pay close attention. : / So, learn from my mistake!
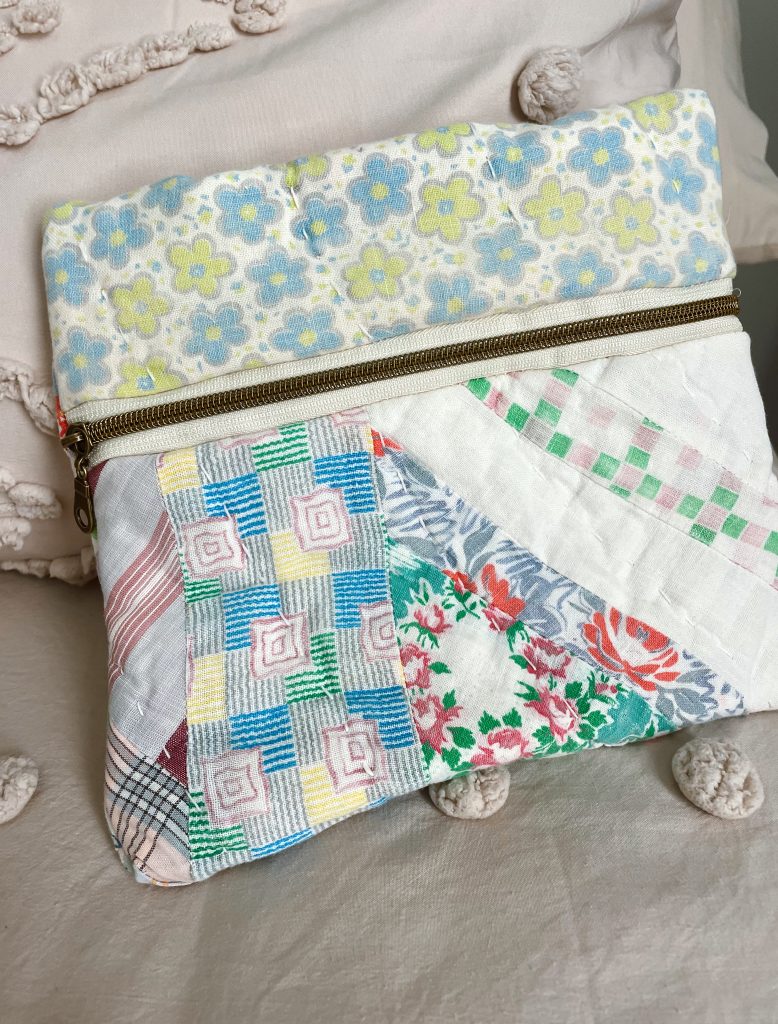
UPDATE!!!
I ripped the bag apart and resewed it the way I originally wanted! Ta-Da!
Check out the links to materials I used below!
I hope this wasn’t too difficult and that it motivates you to learn and do even more! I would love to hear your thoughts or see your creations below in the comments!
If you haven’t been following along, subscribe here to stay up to date on our upcoming RV travels, as well as recipes, crafting, fitness and more!
Enjoy and live with Nothing Reserved!
Marla
Links to Materials used below.
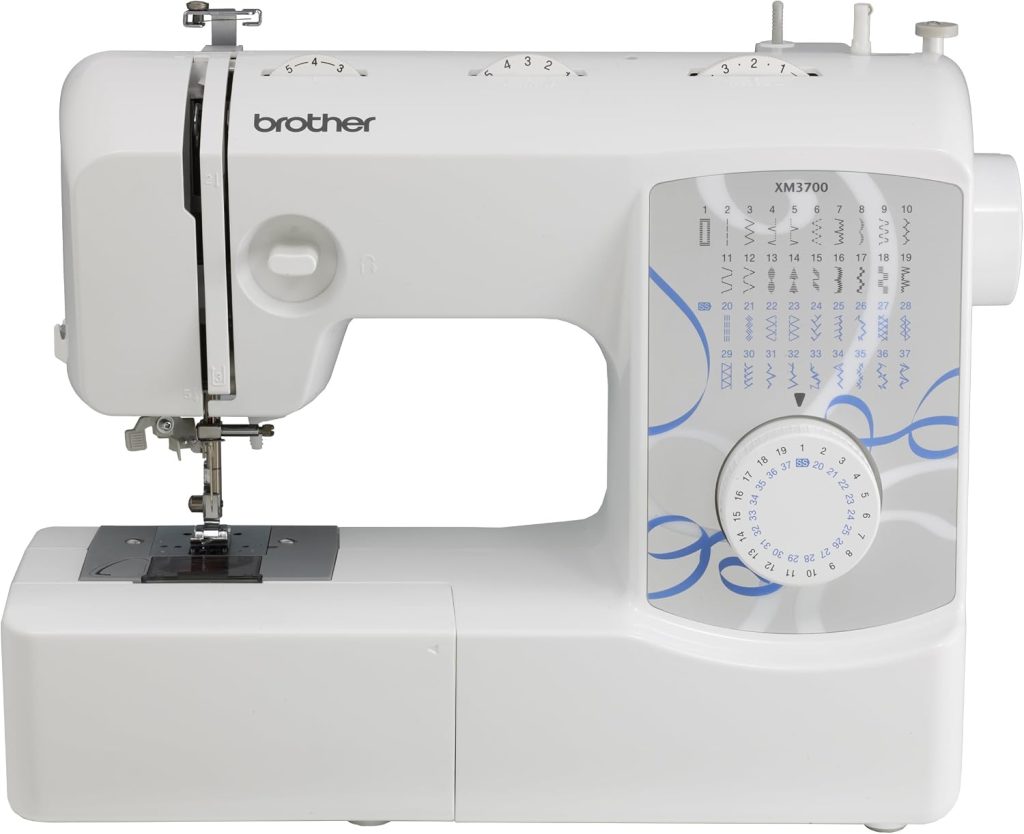
Here is a solid sewing machine with great reviews for the average sewer to use!
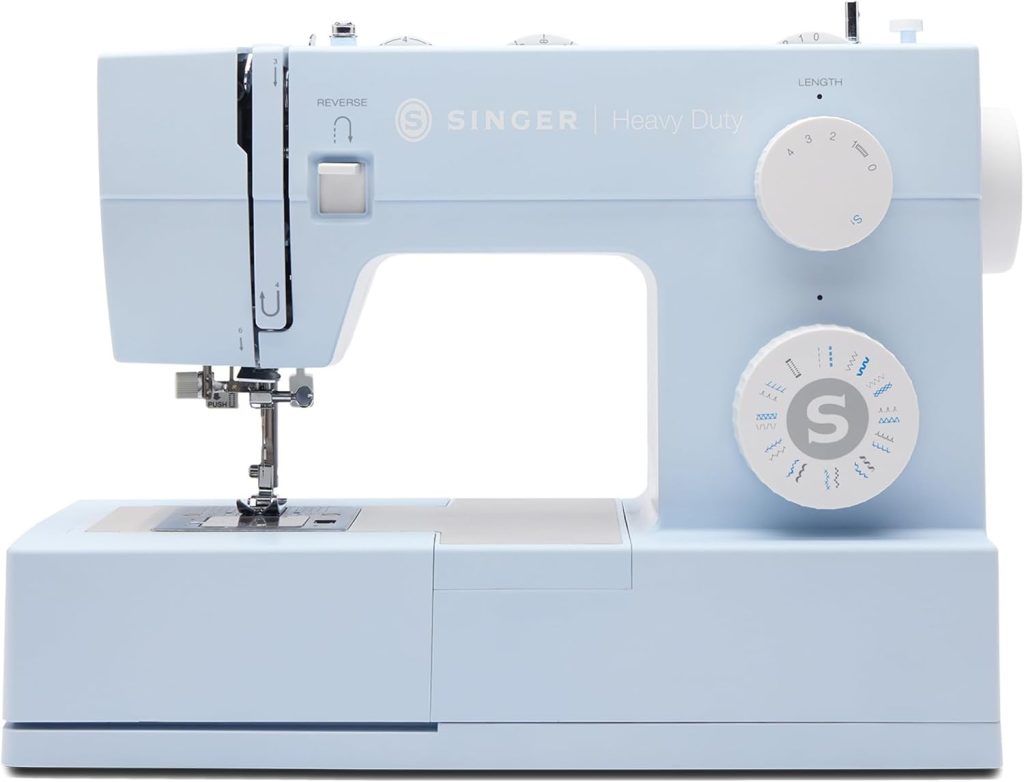
Here is a more advanced heavy duty option with great reviews.
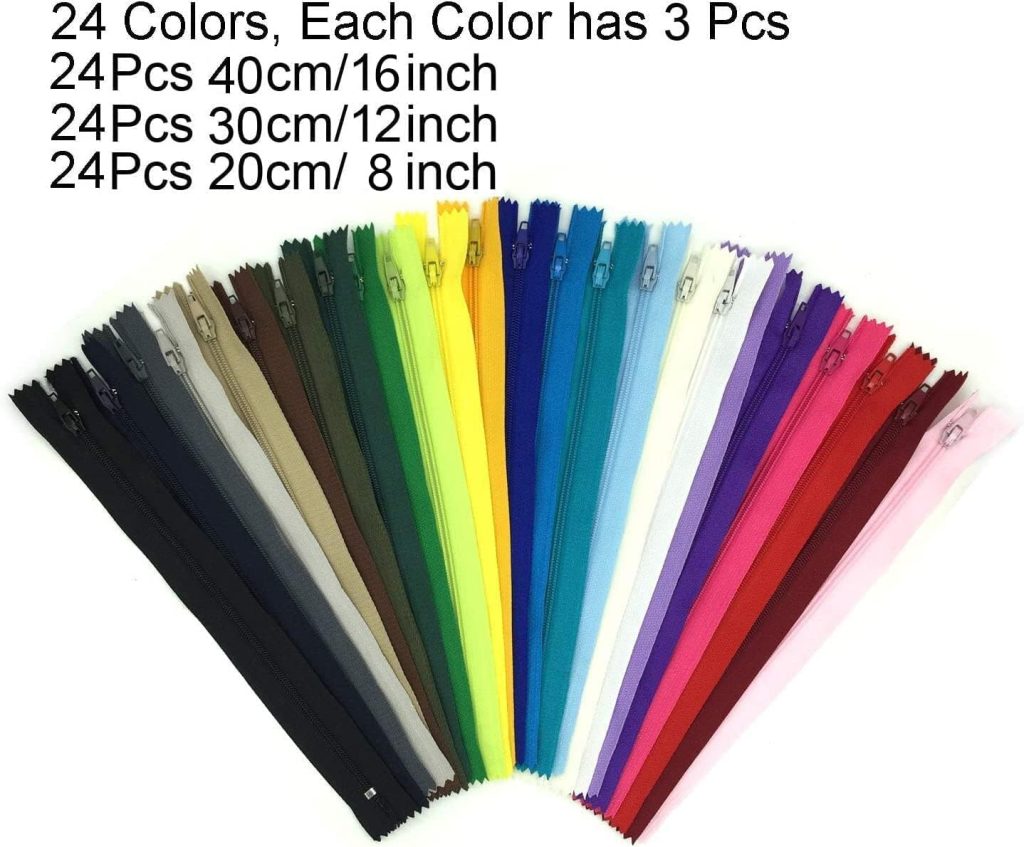
You can purchase pre-cut zippers like these below. They come in many different color options and sizes.
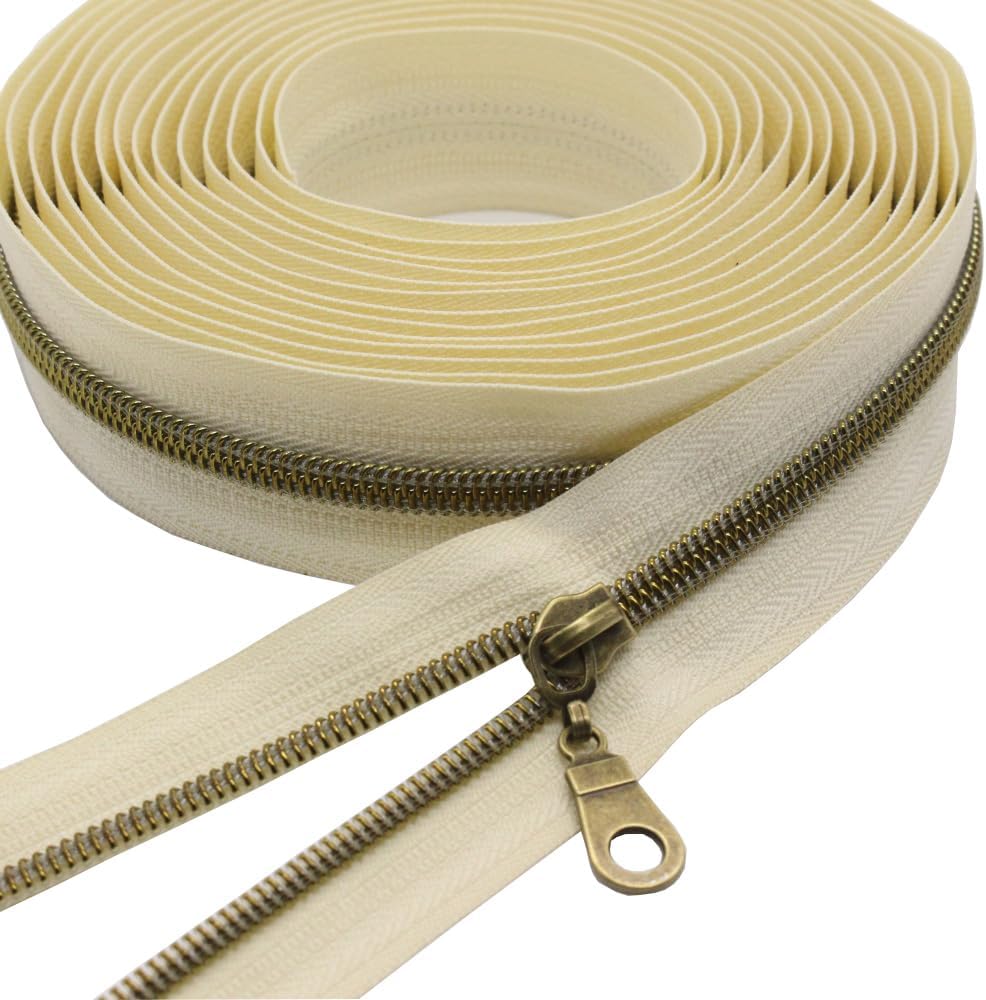
I am actually using this zipper below. You can purchase them here!
You can cut these to whatever size you want. I love that they are metal for a little more of a high-end look.
There is a video included on the link to show how to use them… super easy!
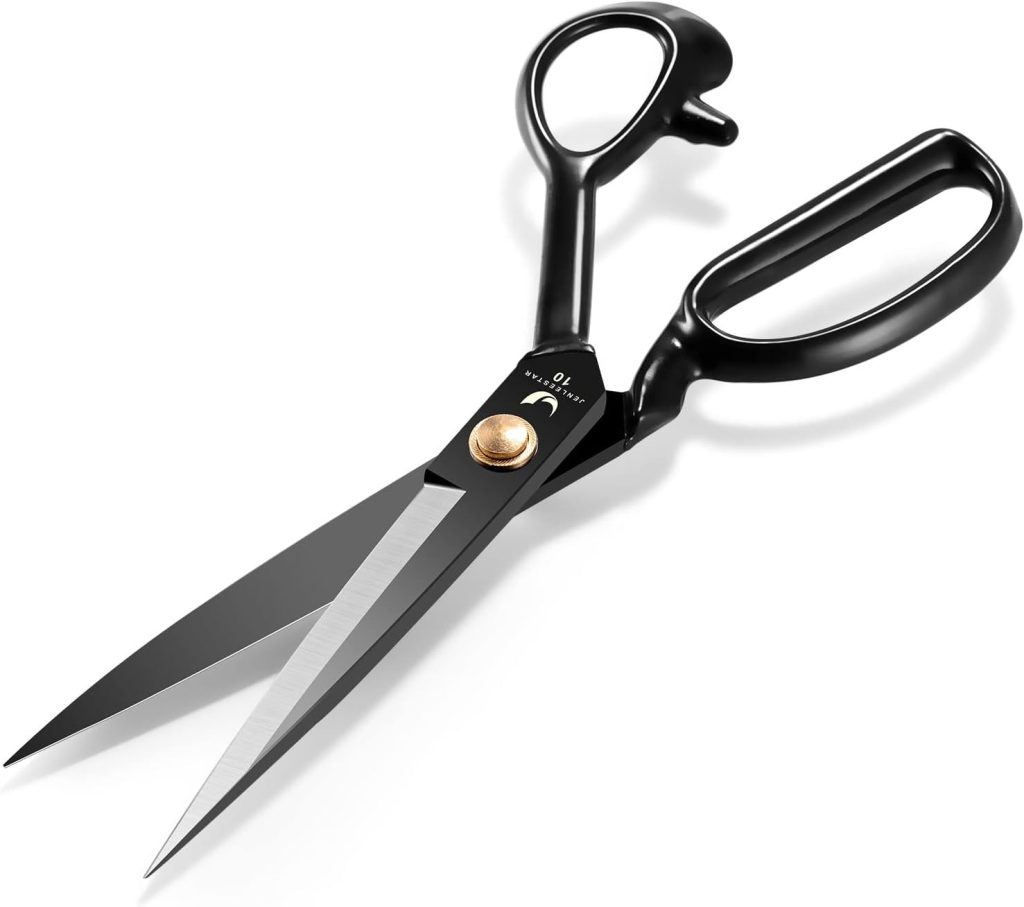
Here are great fabric scissors with high reviews!
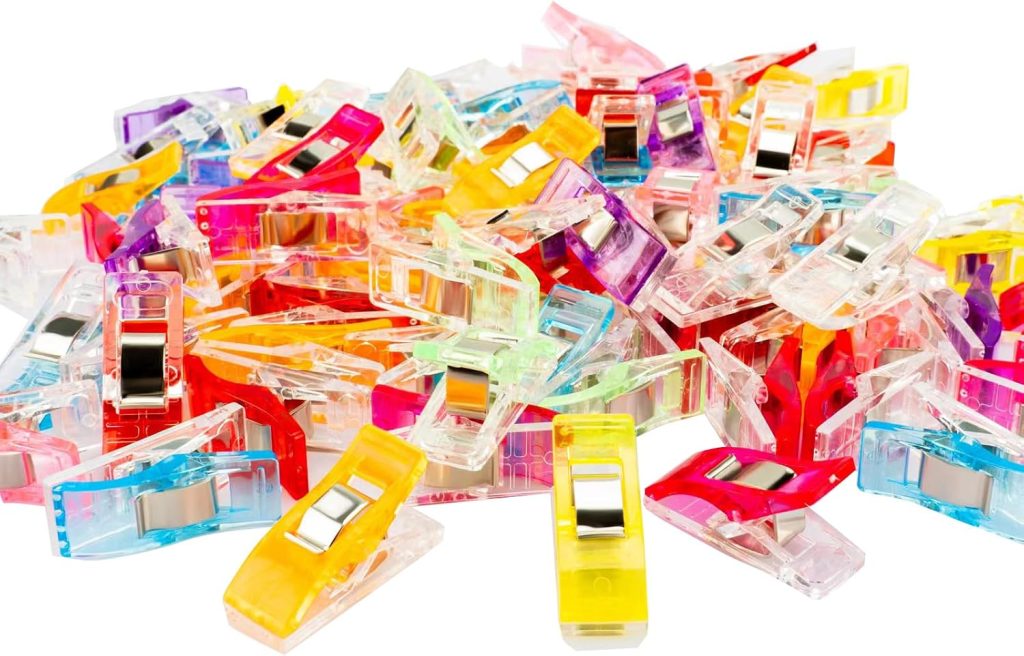
These are the clips I use and love!
Leave a Reply